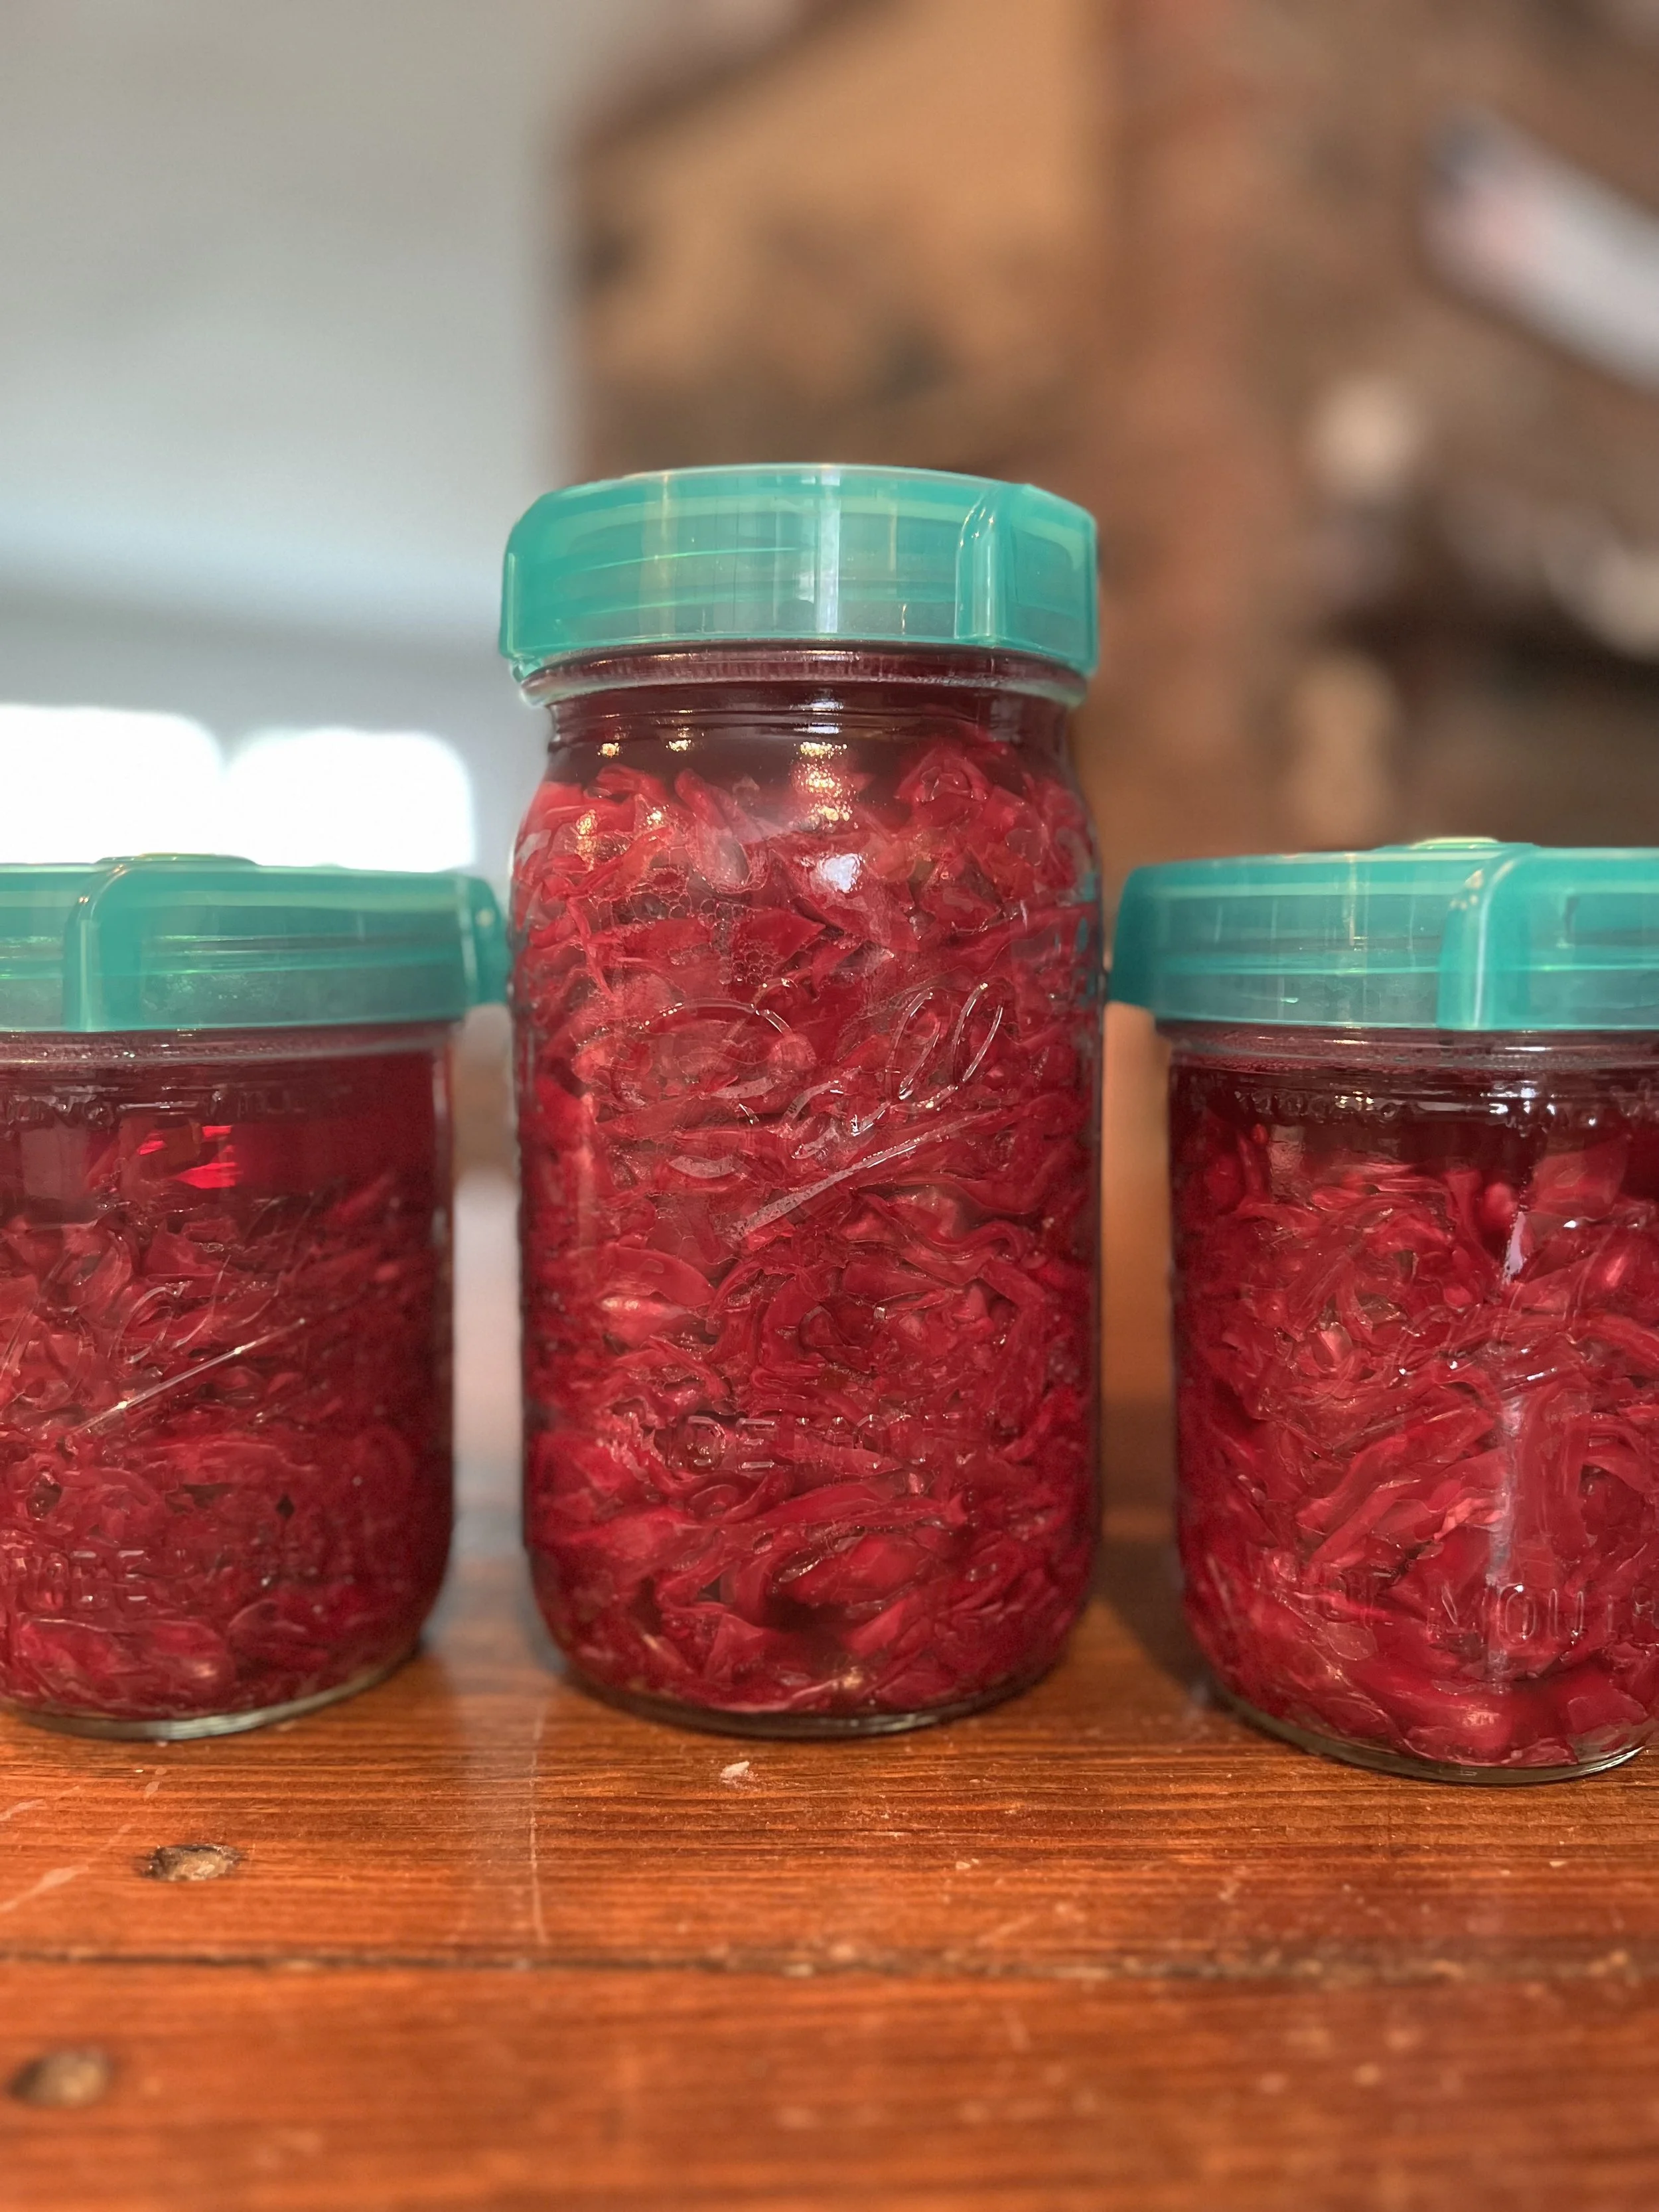
Purple Sauerkraut
My microbes in my gut are jumping around for joy when I think of this homemade sauerkraut recipe! I feel good knowing that I am giving my microbes a healthy meal or snack. I was never a big fan of sauerkraut before. I really only ate it on a reuben sandwich and lets be honest the taste of the sauerkraut was disguised by the buttery bread, melted cheese, salty corn beef, and oozing thousand island dressing. The kraut you buy in a jar or a bag was just mushy and bland to me. I stumbled upon this recipe thanks to Dr. Bulsiewicz, who wrote the book Fiber Fueled, which explains all about the foods that nourish our guts. He explains how our gut microbiome loves to feed off fermented foods such as sauerkraut, kimchi, miso, and kombucha to name a few. Our microbiome thrives off of these fermented foods! Our happy microbes thank us for eating such nutritious foods by producing SCFA’s (short chain fatty acids) which prevents the growth of inflammatory pathogenic bacteria, suppress the bad guys like E.Coli and Salmonella, and gives your healthy microbes an advantage over the inflammatory ones, enabling them to multiply and produce more and more SCFA’s! Microbes are busy little bugs!
Not only is the fermentation process amazing in itself but also the benefits of purple cabbage are incredible! Purple cabbage is known to be anti-inflammtory, supports heart health, bone health, improves your gut function, and reduces your risk of certain cancers. This brassica veggie is also rich in fiber and nutrients such as Vitamin A, C, K, and B6. Purple cabbage is also FULL of antioxidants and other plant compounds that help prevent against cellular damage. Interestingly, purple cabbage boasts 4.5 times higher antioxidants as compared to green cabbage. This is a great example of how eating the rainbow can be more beneficial when we are looking at nutrients!
Back to the recipe! I found this recipe much easier than I anticipated when I first thought about fermenting our own foods. It only requires 2 ingredients: purple cabbage and salt. You can also add in other flavorings if your feeling fancy too. I added whole garlic cloves and red pepper flakes because we like a little spice! My mom gifted me fermenting jar lids for Christmas but if you don’t have these you can use a mason jar and just “burp” the lid once or twice a day. I also invested in fermenting weights and wide mouth mason jars, this helps keep your cabbage nicely under water. Let’s get fermenting!
Purple Sauerkraut
1 whole purple cabbage
1 1/4 tablespoon pure salt (no iodine)
1 teaspoon chili flakes (optional)
5 to 7 garlic cloves (optional)
Directions:
Finely shred or slice the cabbage. I cut mine in half, then cut it in half again so it’s easier for me to hold and slice. You could also use a grater if you prefer. One whole cabbage gives me a little over 1 kilogram of sliced cabbage. I measure mine out using a kitchen scale in a large bowl.
Sprinkle the cabbage with the salt and mix it through. Let the cabbage sit for 10 to 15 minutes. This always the salt to draw the water out of the cabbage, which creates our brine.
Once the cabbage has been resting, start to squeeze the cabbage in small handfuls to release more of the brine. It will begin to collect in the bottom of the bowl.
Once you are done squeezing all the cabbage and the brine has collected at the bottom, you may mix in the chili flakes if you are using.
Start placing your cabbage in your wide mouth mason jars. I used one 64 oz jar and two 16 oz mason jars. If your using garlic cloves, you can add them in as you add in more cabbage. My fermenting kit came with a pounder which I found very helpful to pack all the cabbage into the jars. You can also use your fist, a rolling pin, or a muddling stick to pack the cabbage in the jars.
Make sure to leave a one inch gap at the top of your jar. Also make sure all the cabbage is submerged in the liquid. As you pack the cabbage more brine is released and is usually enough to cover the cabbage.
Place a fermenting weight on top of the cabbage. This helps to keep the cabbage submerged in the brine.
Seal the jar with your fermenting lids or with the mason jar lid. If you use the mason jar lid, simply “burp” the jar once a day to release pressure from building up.
Now just set it on your kitchen counter and let the fermentation process go to work! I usually let mine sit for one week. I just double check everyday to make sure the cabbage is still covered in the brine. Sometimes you may need to add a salt water solution to the jar to ensure the cabbage is still submerged.
Once you anxiously await to test taste your sauerkraut…if it’s yummy to you, you can place the jars in the refrigerator now! If your using fermenting jar lids, you can now replace them with mason jar lids to place in the fridge. If you still want it to ferment longer, you can continue to allow it to ferment for another 1-6 weeks. It’s up to your personal preference!
It seems like a lot of steps but the benefits of this delicious and crunchy sauerkraut are worth it! You can enjoy this in salads, on avocado toast, on tacos, on sandwiches, or just by itself! It has a tasty crunch and saltiness to it, that fulfill my salt cravings instead of reaching for potato chips! Enjoy!
Avocado toast topped with purple sauerkraut and beet microgreens.


